3 DIY Projects for Fixing Squeaky Floors
Discover 3 easy DIY projects for fixing squeaky floors. Silence those annoying creaks with these simple solutions.
3 DIY Projects for Fixing Squeaky Floors
Squeaky floors can be a real nuisance, turning a peaceful stroll across your living room into a symphony of creaks and groans. Not only are they annoying, but they can also be a sign of underlying issues with your subfloor or joists. The good news is that many squeaky floor problems can be tackled with a few simple DIY projects, saving you the expense of calling in a professional. In this comprehensive guide, we'll dive deep into three effective methods for silencing those pesky floorboards, offering detailed instructions, product recommendations, and tips for achieving lasting results. Whether you're dealing with hardwood, laminate, or carpeted floors, we've got solutions that can help.
Understanding the Causes of Squeaky Floors and Common Culprits
Before we jump into the fixes, it's helpful to understand why floors squeak in the first place. Most squeaks occur when floorboards rub against each other, against the subfloor, or against the nails holding them down. This friction creates the irritating sound you hear. Common culprits include:
- Loose Floorboards: Over time, wood can shrink and expand due to changes in humidity and temperature, causing floorboards to loosen from their fasteners.
- Subfloor Issues: The subfloor, which sits beneath your finished flooring, can also become loose or uneven, leading to movement and squeaks.
- Joist Problems: The wooden beams (joists) that support your floor can sometimes twist, warp, or separate from the subfloor, creating gaps and friction.
- Improper Installation: Sometimes, squeaks are a result of poor installation, such as insufficient nailing or improper spacing of floorboards.
- Humidity Changes: As mentioned, changes in humidity can cause wood to expand and contract, leading to new squeaks or exacerbating existing ones.
Identifying the source of the squeak is the first step to a successful repair. Walk around the squeaky area, listening carefully to pinpoint the exact location. Sometimes, having a helper walk while you listen from below (if you have access to a basement or crawl space) can be incredibly useful.
DIY Project 1: Fixing Squeaks from Above the Floor with Screws and Adhesives
This method is ideal for squeaks that originate from loose floorboards or subfloor sections that are accessible from the top. It's a relatively straightforward approach that can yield excellent results, especially for hardwood or laminate floors.
Tools and Materials for Above Floor Squeak Repair
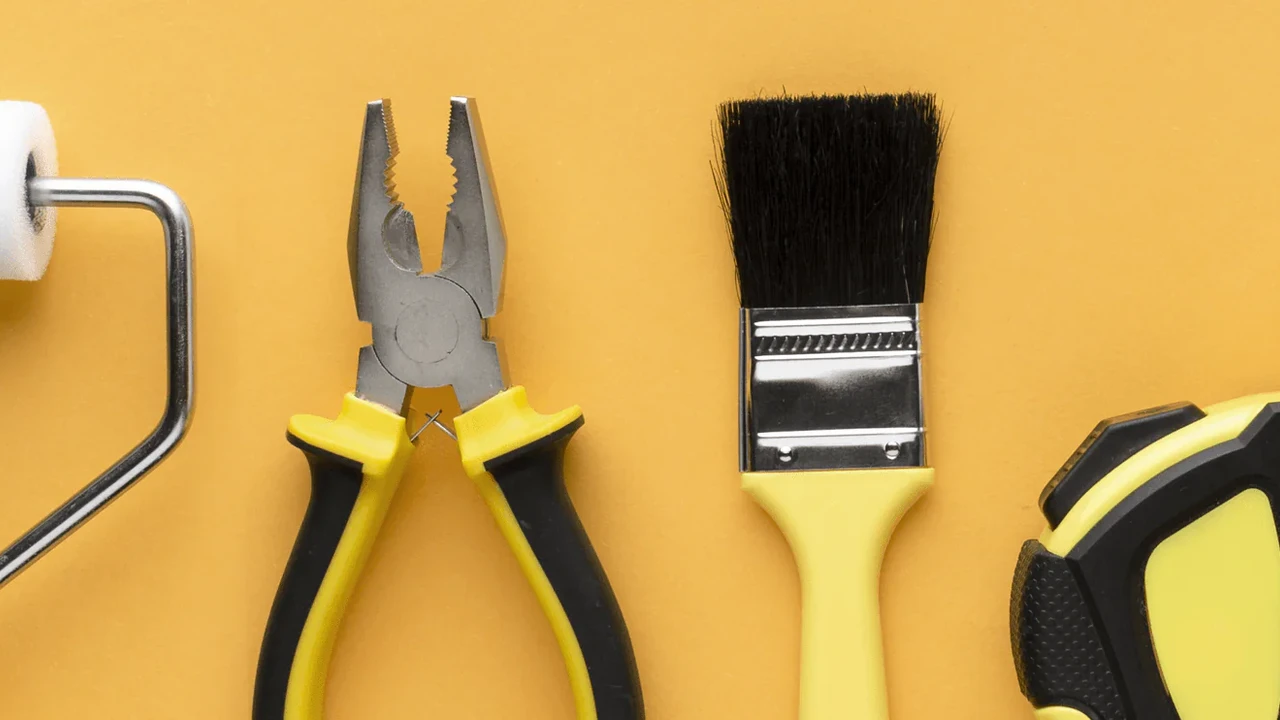
- Drill/Driver: A cordless drill/driver is essential for driving screws.
- Screws: You'll need specialized squeak-fixing screws or trim-head screws.
- Stud Finder: To locate joists beneath the floor.
- Wood Glue or Construction Adhesive: For added stability and to fill small gaps.
- Wood Putty or Filler: To conceal screw heads (if not using self-concealing screws).
- Sandpaper: For smoothing wood putty.
- Safety Glasses: Always protect your eyes.
Step-by-Step Guide to Fixing Squeaks from Above
- Locate the Squeak: Walk over the area to pinpoint the exact spot where the squeak occurs. Mark it with a piece of painter's tape.
- Find the Joist: Use a stud finder to locate the floor joist directly beneath the squeaky area. Mark the joist's position on the floor. This is crucial because you want to screw into the joist, not just the subfloor.
- Pre-Drill (Optional but Recommended): For hardwood floors, pre-drilling a small pilot hole can prevent wood splitting, especially if you're not using self-drilling screws. Use a drill bit slightly smaller than the screw's diameter.
- Apply Adhesive (Optional): For stubborn squeaks, you can try injecting a small amount of wood glue or construction adhesive into the gap between the floorboard and the subfloor before screwing. This can help bond the layers together. Products like Titebond III Ultimate Wood Glue (around $10-$15 for a 16oz bottle) or Loctite PL Premium Fast Grab Construction Adhesive (around $5-$8 per tube) are excellent choices.
- Drive the Screw: Carefully drive a specialized squeak-fixing screw (like the Squeeeeek No More Kit, which costs about $20-$30 and includes a jig and screws) or a trim-head screw through the floorboard and subfloor into the joist. The Squeeeeek No More system is particularly good because it allows you to snap off the screw head below the surface, making it virtually invisible. If using regular trim-head screws, drive them until they are slightly recessed below the surface.
- Conceal the Screw Head: If using the Squeeeeek No More system, the head will snap off. If using trim-head screws, fill the small hole with wood putty that matches your floor's color. Let it dry, then lightly sand it smooth.
- Test: Walk over the area to see if the squeak is gone. If not, you may need to add another screw or try a different method.
Product Recommendations for Above Floor Squeak Repair
- Squeeeeek No More Kit: This is a highly recommended product for DIYers. It comes with a specialized jig that guides the screw and allows you to snap off the head cleanly below the surface of the floor. This makes the repair virtually invisible, especially on carpeted floors where the screw head can be hidden beneath the pile. For hardwood, you'll still need to fill the tiny hole. Price: Approximately $20-$30. Use Case: Excellent for both carpeted and hardwood floors where you want a discreet repair.
- O'Berry Squeak Eliminator Kit: Similar to Squeeeeek No More, this kit also uses specialized screws designed to pull the floorboard tightly to the joist. It's another effective option for a clean finish. Price: Around $25-$35. Use Case: Good for various flooring types, offering a strong hold.
- Trim-Head Screws (e.g., GRK Trim Head Screws): If you're comfortable with wood putty and don't mind a small visible repair, trim-head screws are a more budget-friendly option. They have a small head that can be easily countersunk and filled. Price: Around $8-$15 for a box of 100. Use Case: Cost-effective for hardwood floors where you can match wood putty to the floor color.
- Wood Glue (e.g., Titebond III Ultimate Wood Glue): For adding extra bonding power between loose floorboards and the subfloor. Price: Around $10-$15 for a 16oz bottle. Use Case: Best used in conjunction with screws for a more permanent fix, especially in areas with significant movement.
DIY Project 2: Silencing Squeaks from Below the Floor with Shims and Blocking
If you have access to the underside of your floor (from a basement or crawl space), this method can be incredibly effective, as it allows you to address the problem directly at the source without disturbing your finished flooring. This approach focuses on eliminating gaps between the subfloor and joists.
Tools and Materials for Below Floor Squeak Repair
- Wood Shims: Thin, tapered pieces of wood used to fill gaps.
- Construction Adhesive: To secure shims and blocking.
- Wood Blocks (2x4s or similar): For adding support between joists.
- Screws (longer, structural screws): To attach blocking to joists.
- Drill/Driver: For driving screws.
- Hammer: For gently tapping shims.
- Safety Glasses and Gloves: Essential for working in a crawl space.
- Flashlight or Headlamp: For visibility in dark areas.
Step-by-Step Guide to Fixing Squeaks from Below
- Locate the Squeak from Below: Have a helper walk on the floor above while you listen from below. Pinpoint the exact joist and subfloor area where the squeak originates.
- Identify Gaps: Look for visible gaps between the subfloor and the top of the joist. These gaps are often the source of the squeak.
- Insert Shims: Gently tap wood shims into the gaps between the joist and the subfloor. Be careful not to drive them in too tightly, as this can push the floorboards up and create a hump. The goal is to fill the gap just enough to eliminate movement. Apply a bead of construction adhesive to the shim before inserting it for a more secure fit. Products like Gorilla Glue Construction Adhesive (around $6-$10 per tube) or Liquid Nails Heavy Duty Construction Adhesive (around $4-$7 per tube) work well here.
- Secure Shims: Once the shim is in place and the squeak is gone, you can secure it further by driving a small screw through the shim and into the joist, or simply rely on the adhesive. Trim any excess shim material with a utility knife.
- Add Blocking (for larger gaps or persistent squeaks): If the gap is significant or the squeak persists, you might need to add blocking. Cut a piece of 2x4 lumber to fit snugly between two joists, directly beneath the squeaky area. Apply construction adhesive to the ends of the block and screw it into the sides of the joists. Then, drive screws up through the block and into the subfloor above. This creates a strong, stable connection.
- Test: Have your helper walk on the floor again to confirm the squeak is gone.
Product Recommendations for Below Floor Squeak Repair
- Wood Shims (e.g., Cedar Shims): These are readily available at any hardware store. Look for bundles of thin, tapered shims. Price: Around $5-$10 for a bundle. Use Case: Essential for filling small gaps between joists and subfloor.
- Construction Adhesive (e.g., Gorilla Glue Construction Adhesive): Provides a strong, flexible bond that can withstand some movement. Price: Around $6-$10 per tube. Use Case: Crucial for securing shims and blocking, ensuring a long-lasting fix.
- Structural Screws (e.g., GRK Rugged Structural Screws): When adding blocking, you'll need strong screws to secure the wood to the joists. These screws are designed for structural applications. Price: Around $15-$25 for a box. Use Case: For securely attaching blocking to joists and subfloor.
- 2x4 Lumber: Standard lumber for creating blocking. Price: Varies, but generally inexpensive, around $3-$5 per 8-foot board. Use Case: For creating additional support and eliminating larger gaps.
DIY Project 3: Addressing Squeaks in Carpeted Floors with Specialized Kits
Fixing squeaks under carpet can be a bit trickier because you can't directly access the floorboards without pulling up the carpet. However, specialized kits have been developed to address this challenge, allowing you to fix squeaks without damaging your carpet.
Tools and Materials for Carpeted Floor Squeak Repair
- Carpet Squeak Repair Kit: These kits typically include a specialized screw, a depth-control fixture, and a snap-off tool. The Squeeeeek No More Kit mentioned earlier often includes components for carpeted floors.
- Stud Finder: To locate joists.
- Drill/Driver: For driving the specialized screws.
- Vacuum Cleaner: To clean up any debris.
Step-by-Step Guide to Fixing Squeaks in Carpeted Floors
- Locate the Squeak: Walk over the carpeted area to identify the exact source of the squeak. Mark it with a piece of tape.
- Find the Joist: Use a stud finder to locate the floor joist beneath the squeaky spot. Mark the joist's position.
- Position the Fixture: Place the specialized depth-control fixture (included in the kit) directly over the marked joist and the squeaky area. This fixture is designed to guide the screw through the carpet without snagging it and ensures the screw is driven to the correct depth.
- Drive the Screw: Using your drill/driver, drive the specialized screw through the fixture, carpet, subfloor, and into the joist. The screw is designed to pull the floorboard and subfloor tightly against the joist.
- Snap Off the Screw Head: Once the screw is fully driven, use the snap-off tool (also included in the kit) to break off the screw head just below the surface of the carpet. The carpet fibers will then conceal the tiny hole.
- Fluff the Carpet: Gently fluff the carpet fibers over the repair area to completely hide the screw hole.
- Test: Walk over the area to ensure the squeak is gone.
Product Recommendations for Carpeted Floor Squeak Repair
- Squeeeeek No More Kit (Carpeted Floor Version): This kit is specifically designed to work with carpeted floors. It includes a special tripod fixture that allows you to drive the screw through the carpet without damaging it, and then snap off the screw head below the carpet pile. Price: Approximately $20-$30. Use Case: The go-to solution for fixing squeaks under carpet without lifting the flooring.
- Counter-Snap Kit: Another popular option for carpeted floors, similar in function to the Squeeeeek No More kit. It also uses a guide and specialized screws to achieve a hidden repair. Price: Around $25-$35. Use Case: Effective for discreetly fixing squeaks in carpeted areas.
Advanced Tips and Considerations for Squeaky Floor Repair
When to Call a Professional for Squeaky Floor Repair
While many squeaks are DIY-friendly, there are times when calling a professional is the best course of action. Consider professional help if:
- The Squeaks are Widespread: If your entire floor is squeaking, it might indicate a larger structural issue that requires expert assessment.
- You Suspect Structural Damage: Visible sagging, significant unevenness, or signs of water damage could point to compromised joists or subfloor, which a professional should inspect.
- You Lack Access: If you can't access the underside of your floor and the squeaks are persistent from above, a professional might have specialized tools or techniques.
- You're Uncomfortable with DIY: There's no shame in knowing your limits. If you're not confident in your DIY skills, a professional can ensure the job is done correctly and safely.
Preventing Future Squeaks and Maintaining Your Floors
Once you've silenced those annoying squeaks, you'll want to take steps to prevent them from returning. Here are some maintenance tips:
- Control Humidity: Use humidifiers in dry climates and dehumidifiers in humid climates to maintain a consistent indoor humidity level (ideally between 35-55%). This minimizes wood expansion and contraction.
- Proper Cleaning: Avoid excessive moisture when cleaning hardwood or laminate floors, as water can cause wood to swell and warp.
- Regular Inspections: Periodically check your floors for any signs of loosening or damage, especially in high-traffic areas.
- Secure Loose Boards: If you notice any new loose boards, address them promptly before they develop into full-blown squeaks.
- Consider Underlayment: When installing new flooring, use a high-quality underlayment. This can provide a cushioning layer, reduce friction, and help prevent squeaks.
Fixing squeaky floors is a rewarding DIY project that can significantly improve the comfort and quietness of your home. By understanding the causes and applying the right techniques, you can enjoy silent steps for years to come. Remember to always prioritize safety, use the right tools, and don't hesitate to seek professional help if the problem seems beyond your DIY capabilities. Happy fixing!
:max_bytes(150000):strip_icc()/277019-baked-pork-chops-with-cream-of-mushroom-soup-DDMFS-beauty-4x3-BG-7505-5762b731cf30447d9cbbbbbf387beafa.jpg)


